Propagation - Bulbs, Corms and Claws
Claire, Plantpassion

Annual or Perennial?
Spring Bulbs are key focal flowers to start off your season, but they are an expensive item to purchase, so the question I'm most often asked is.
Do I grow bulbs as annuals or perennials?
The answer is - it depends.
Unlike when grown in a garden situation, I don't want a bulb that comes back, to just give me a splash of colour from a distance. I want a bulb stem that is long, and a flower that is stronger, and larger than my customers can buy from a supermarket, so that I can sell them at premium prices.
I also don't want an increased risk of pest and disease. If a bulb will give me those attributes on their 2nd, 3rd or 4th year, then the answer is, yes, I grow them as perennials, and either plant them in amongst other herbaceous perennials so they come up through the plant growth, or I plant them in beds dedicated to one type of bulb.
If the answer is no, - i.e the length of stem gets shorter, they are not reliably bigger flowers, and the stems aren't as strong. Or if growing them in the same place increases the risk of pest and disease, then I grow them as annuals.
Annuals - These are all types that I have found will not give good enough results in following years to give saleable stems.
Tulips - all types except
Menton,
Queen of the night,
Viridiflora,
Dordogne
Allium Cowannii - may flower for 2 years but not as strongly
Allium Spherecephalon - will flower for several years but heads go from golf ball sized to marble sized.
Narsissus Paperwhites
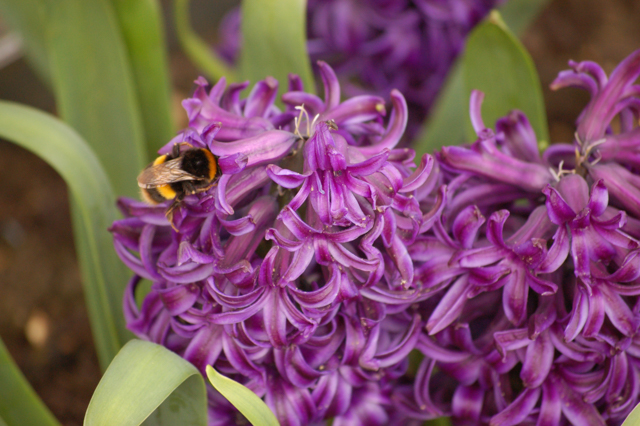
Hyacinth
Tritelia
Ranunculus
Gladiolus the bride (can get 2 years if in a poly tunnel)
Perennials - These are all types that I have found will give just as good or better results in their 2nd, 3rd and 4th years. Most of these I dedicate full beds to, planting them close together.
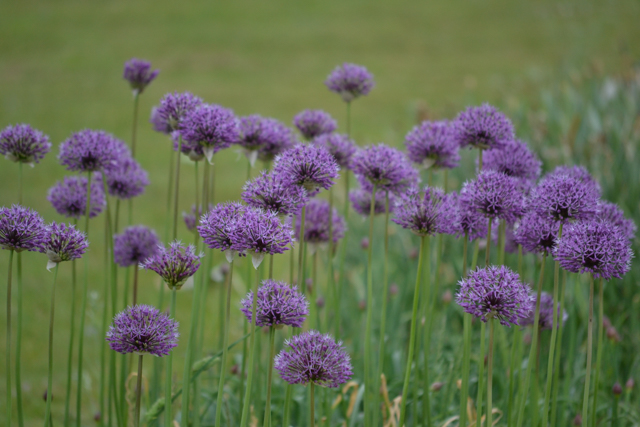
Alliums - varieties Purple sensation, Christophii, nigrum, Mount Everest, Nectaroscordum,
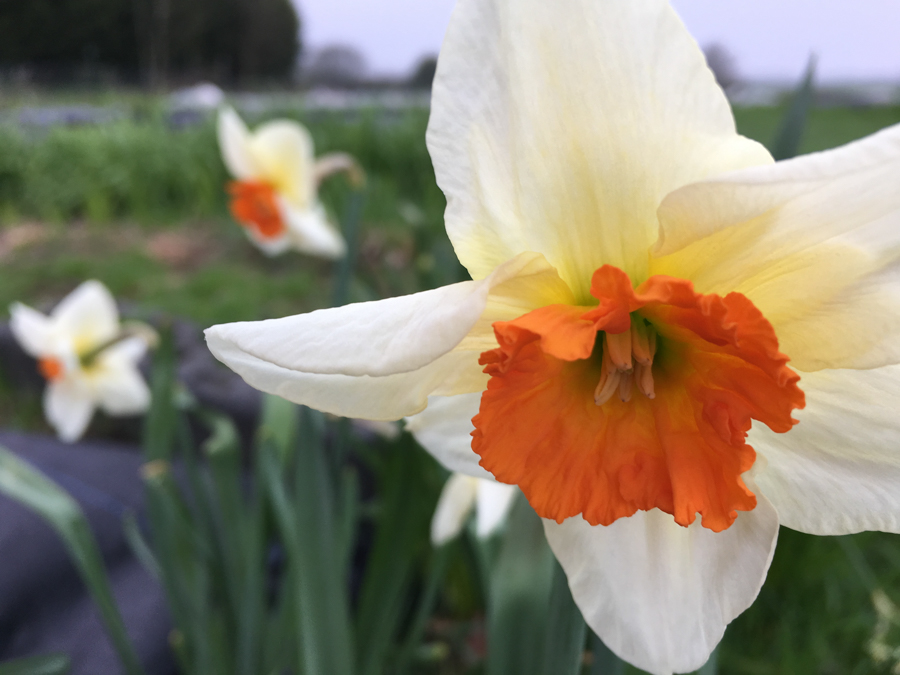
Narsissus - varieties Cragford, Cheerfulness, Geranium, Winston Churchill, Double Ducat, White Lion, Thalia, Peublo,
Dutch Iris - Sapphire beauty, White Excelsior, Eye of the tiger.
Gladiolus Nanus
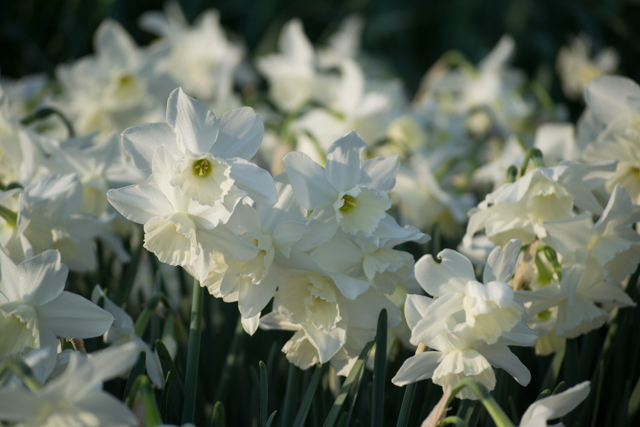
Autumn bulb planting
Autumn planted bulbs are a wonderful way to make sure that you have key focal flowers for March, April and May.
The key bulbs for each month are
March

Anemones (polytunnel / p/t)
Hyacinths (p/t)
Early Tulips (p/t)
Muscari
Narcissus
Leucojum
April
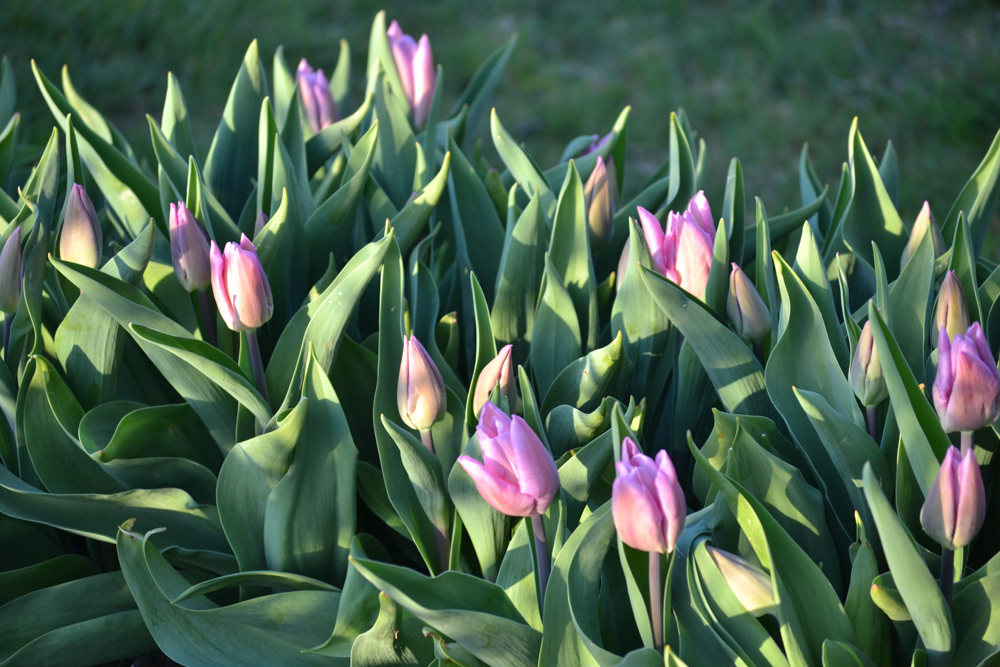
Tulips (p/t and outside)
Anemones
Ranunculus (p/t)
Narcissus
May
Tulips
Alliums
Iris
Fritallaria
Anemones and
Ranunculus
Anemones and Ranunculus are dealt with slight separately, so there is information about them in the next 2 sections. For all the others, unlike in a garden, I plant them in trenches, rather than individually or in small groups
Here’s my video for how I plant Tulips
For all bulbs, you'll need a free draining soil.
We plant all our perennial bulbs in beds specifically for bulbs. By the time the foliage is dying back, the beds will be getting weedy (because you'll have turned over the soil to plant them bringing up weed seeds). So we just strim off the worst weeds, and cover with weed membrane. - This will be in July / August for Alliums and Narsisscus and slightly later for Iris. The weeds will die back under the membrane, and by the time you take the cover back off in January / February the shrivelled weeds can just be raked off the surface - keep a close eye to take off the cover as soon as the bulbs begin to peek out, otherwise the tips will be harmed by raking.
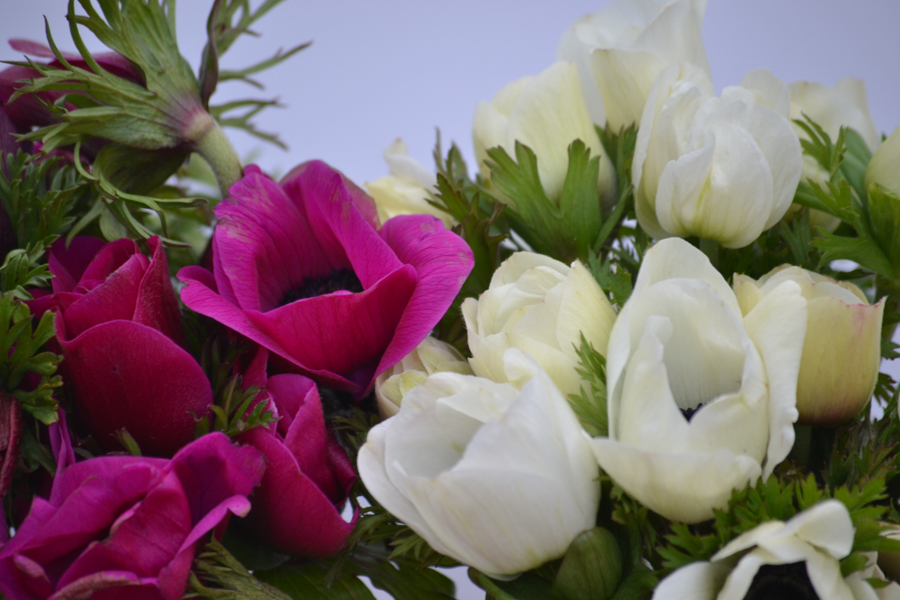
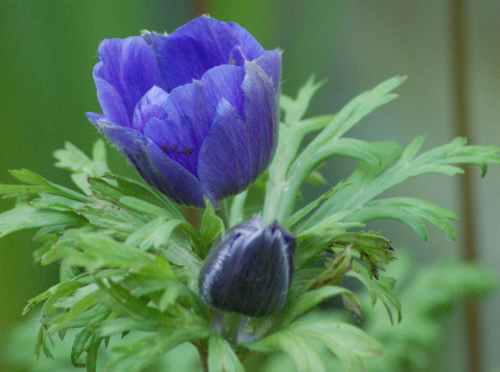
Anemones for early spring sales

Anemones are a beautiful spring flower, and as such are important for any flower farmer that wants early spring sales.
I've grown them in both the polytunnel and outside, with various results, so here are some of my suggestions
Buy from a reputable supplier, and if they cost more, they will be larger and better corms
Chit your anemones (details below) which will ensure that you know which way you should plant them
Plant them as early as possible, so that they get established before winter, as long as your ground is free draining.
They are a favourite of mice, voles and squirrels, so ensure you have taken appropriate measures to protect them
They will need a good amount of moisture to flower with long stems, so this might be a crop worth putting irrigation on.
Chitting Anemones
Anemone corms are small, dark and knobbly, and very hard to know which way up they should be planted. To help with this, if you chit your anemones, they will grow roots and start to shoot, which makes them easy to plant as it is obvious which way up they go.
To chit the anemones.
First soak them. Ideally this would be in oxygenated water (i.e you leave the tap dripping so there are air bubbles in the water) however as my barn has no main drains, only a soak away, I've found that you can quite happily soak the anemones for a couple of hours, drain the water away (we tip the corms into a sieve so the water is caught in a bucket) and fill with fresh water. We do this for a day.
Put the soaked corms in damp vermiculite in a frost free place
Within 10 days to 2 weeks, you have chitted anemones that look like the one below.

Now it's easy to see how to plant them either in the ground or in pots or module trays if you need extra time to clear the bed.
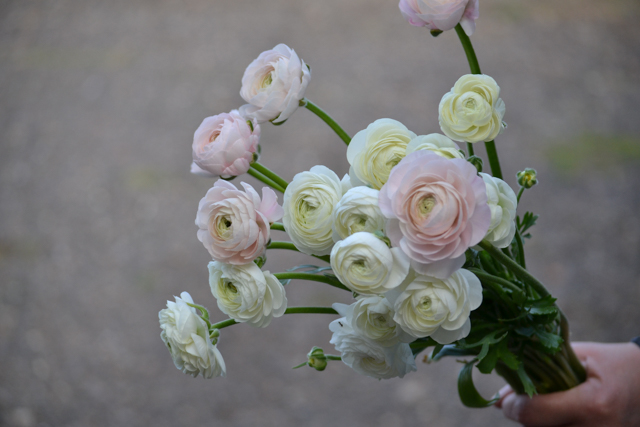
Ranunculus

Before I started flower farming, I bought some ranunculus. Soaked and planted them in pots, and had them growing in the greenhouse.
When I got my field in January 2013, they were planted into bed 4 (after cornflowers, ammi, euphorbia/ marigolds). 2 days later, I went back to find they'd been eaten, the first of my field casualties - probably to deer.
Luckily, I hadn't managed to plant all of them, so i still had a couple of trays of pots left, and i learnt my lesson quickly, and covered them in netting from then on in.
They formed a big part of my first buckets of flowers.
(this photo is from a blog post i wrote in Early June 2013)

They've been a key part of my Spring offering ever since then.
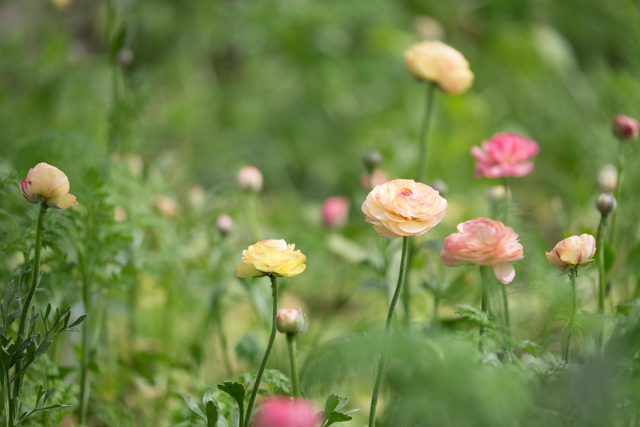
I now try and get 7 weeks of flowers, from early April through to the end of May, by staggering my plantings, and using the protection and early warmth of the polytunnel and growing them outside (with protection!)
Here's what we do
Soak the ranunculus -using the same method as for the anemones.
If the bed isn't perfectly ready at this stage, then I chit the ranunculus just like the anemones.
Note i've found that chitting ranunculus isn't as necessary as anemones. They are easy to spot which way is up, and if you leave them chitting for too long, the stems get brittle, which means they can be broken when planted. I've found that the quality of the claw is more important than chitting, but i often do it, just to make sure they are alive.
Make sure you've written plenty of labels, for the beginning and end of where each variety is planted, one claw looks exactly like another.
Use a pipe or measure and work out where you will plant them - We use metre wide beds and plant 5 across each bed. The plastic pipe has sharpie marks where we need to plant them.
Move backwards down the bed, creating a shallow trench 5cm deep, planting in the claws, and covering them up.
If rain isn't forecast then water them in
Cover with netting, environmesh or caterpillar tunnels depending on your circumstances
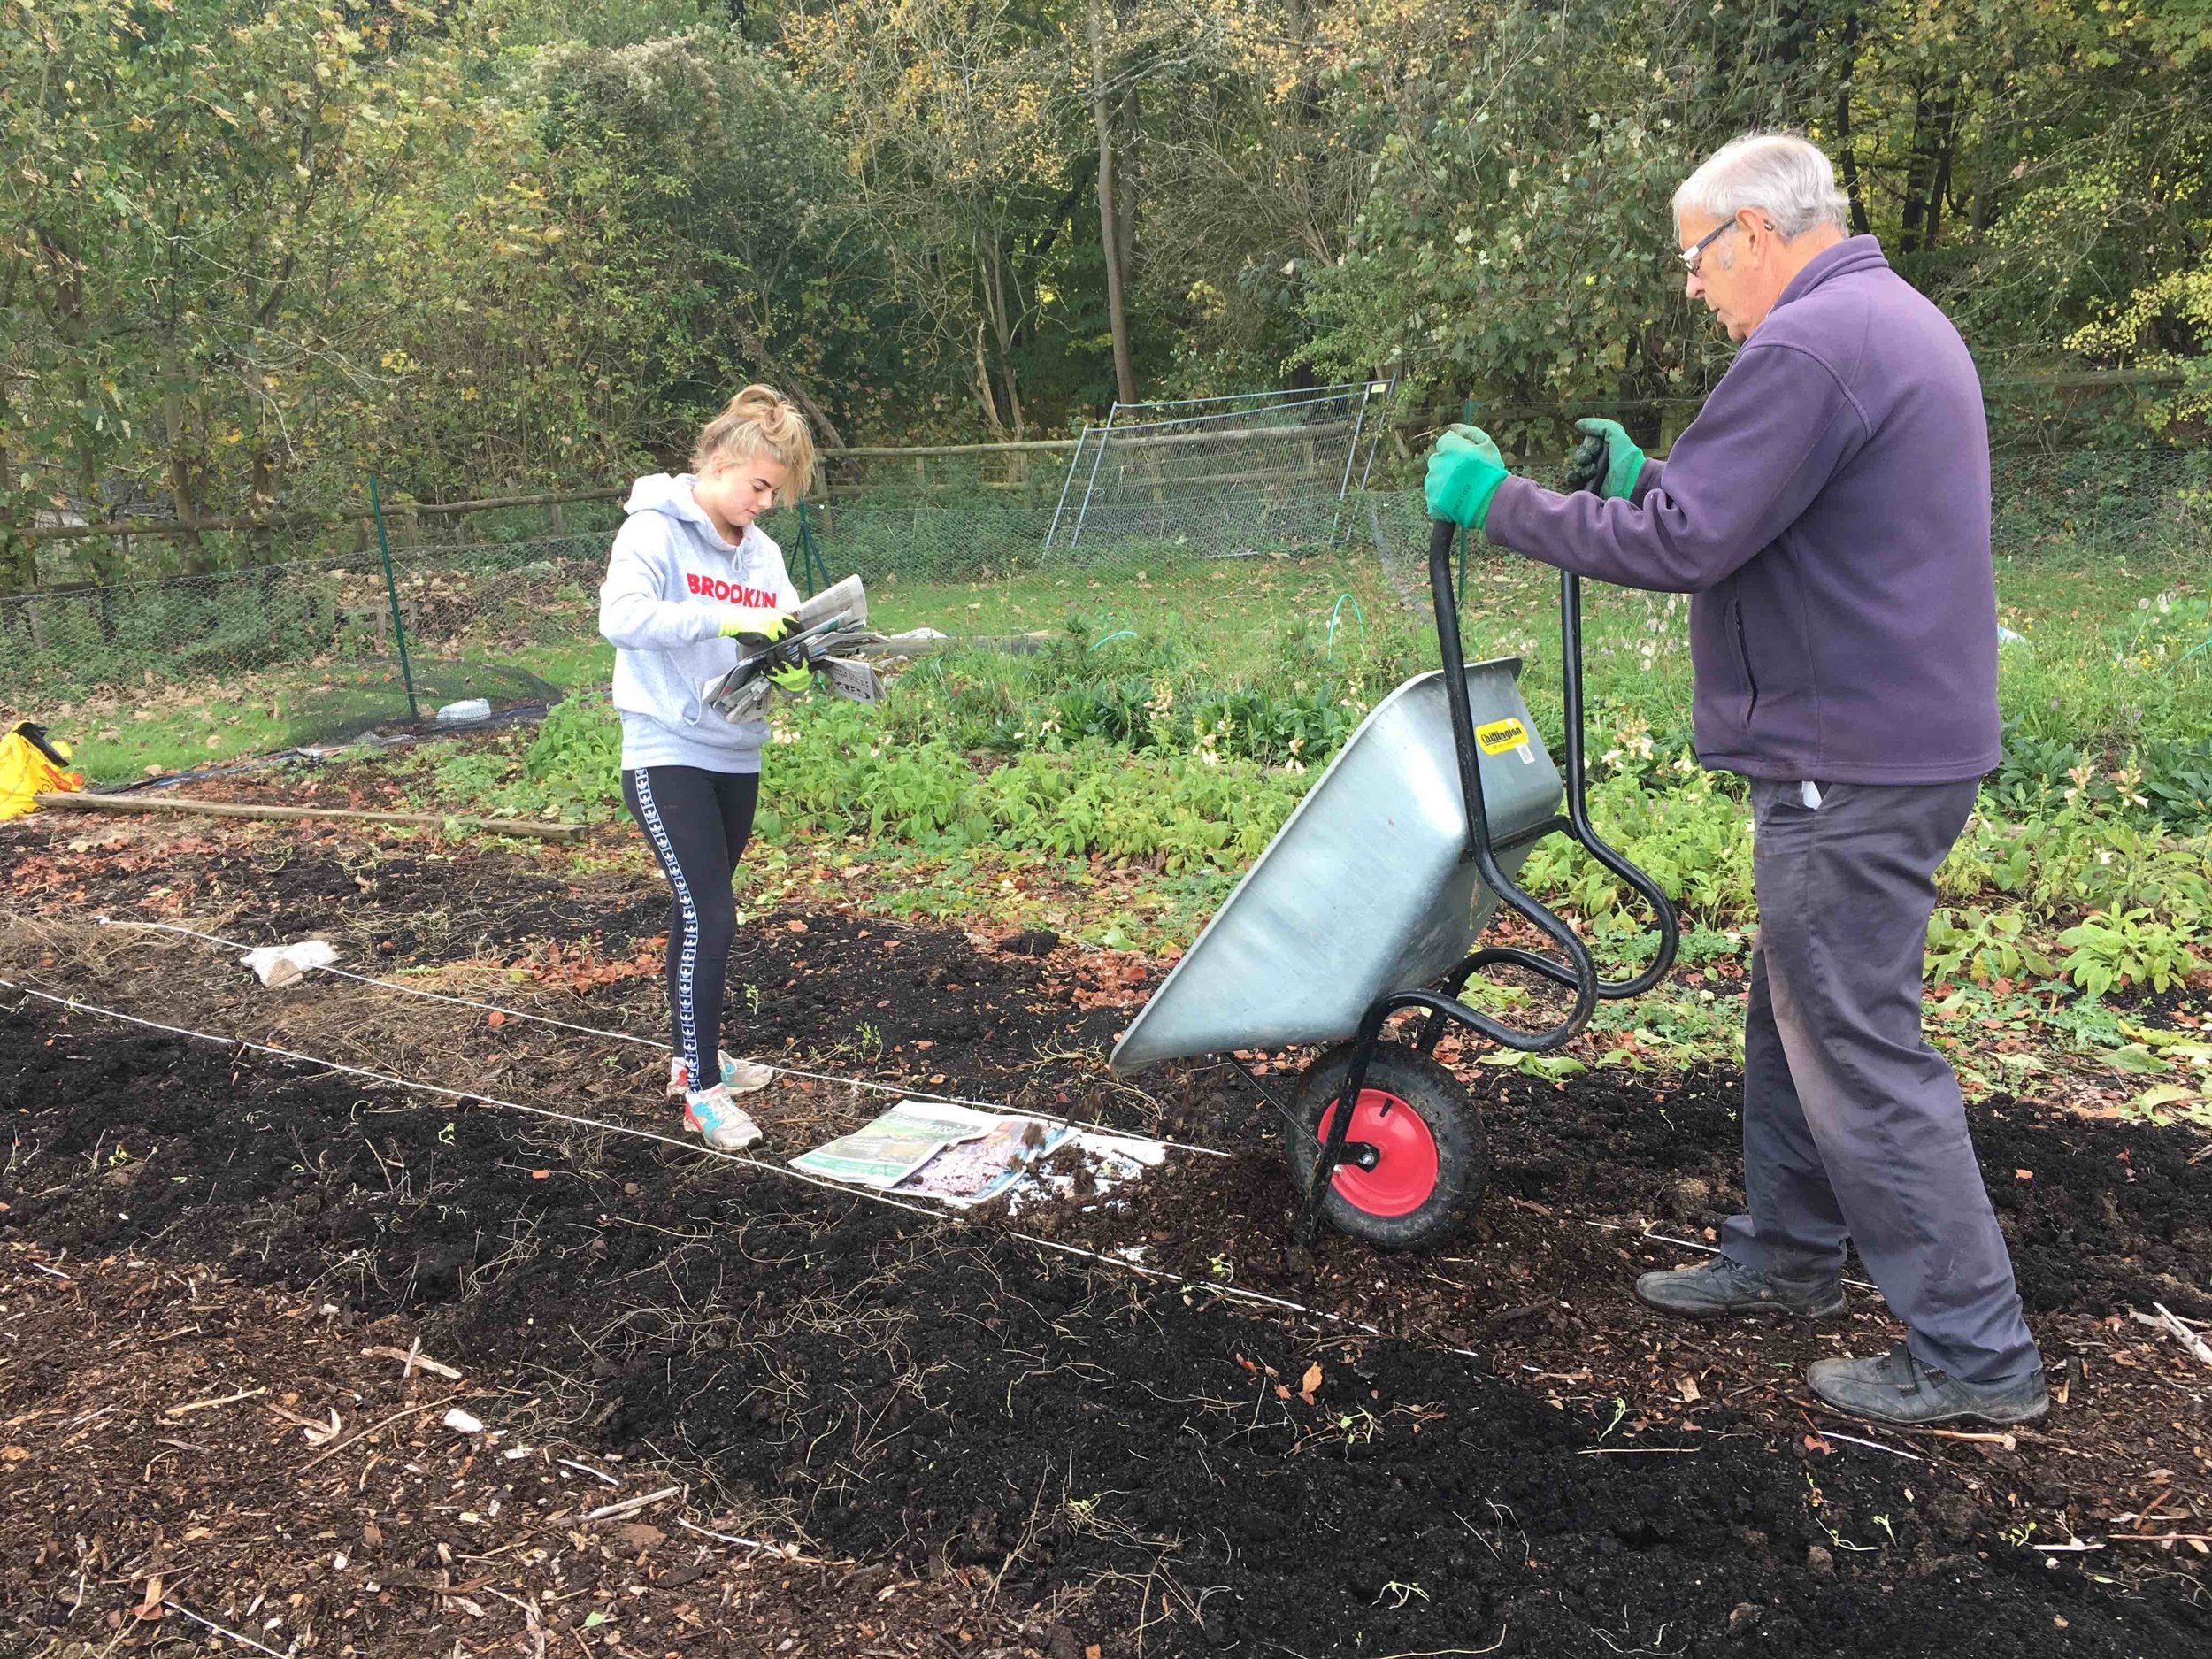
(Here's what we did earlier! - Slideshow of the steps listed above Modelled by Mum, Dad and my niece Emma - click to move onto the next picture)
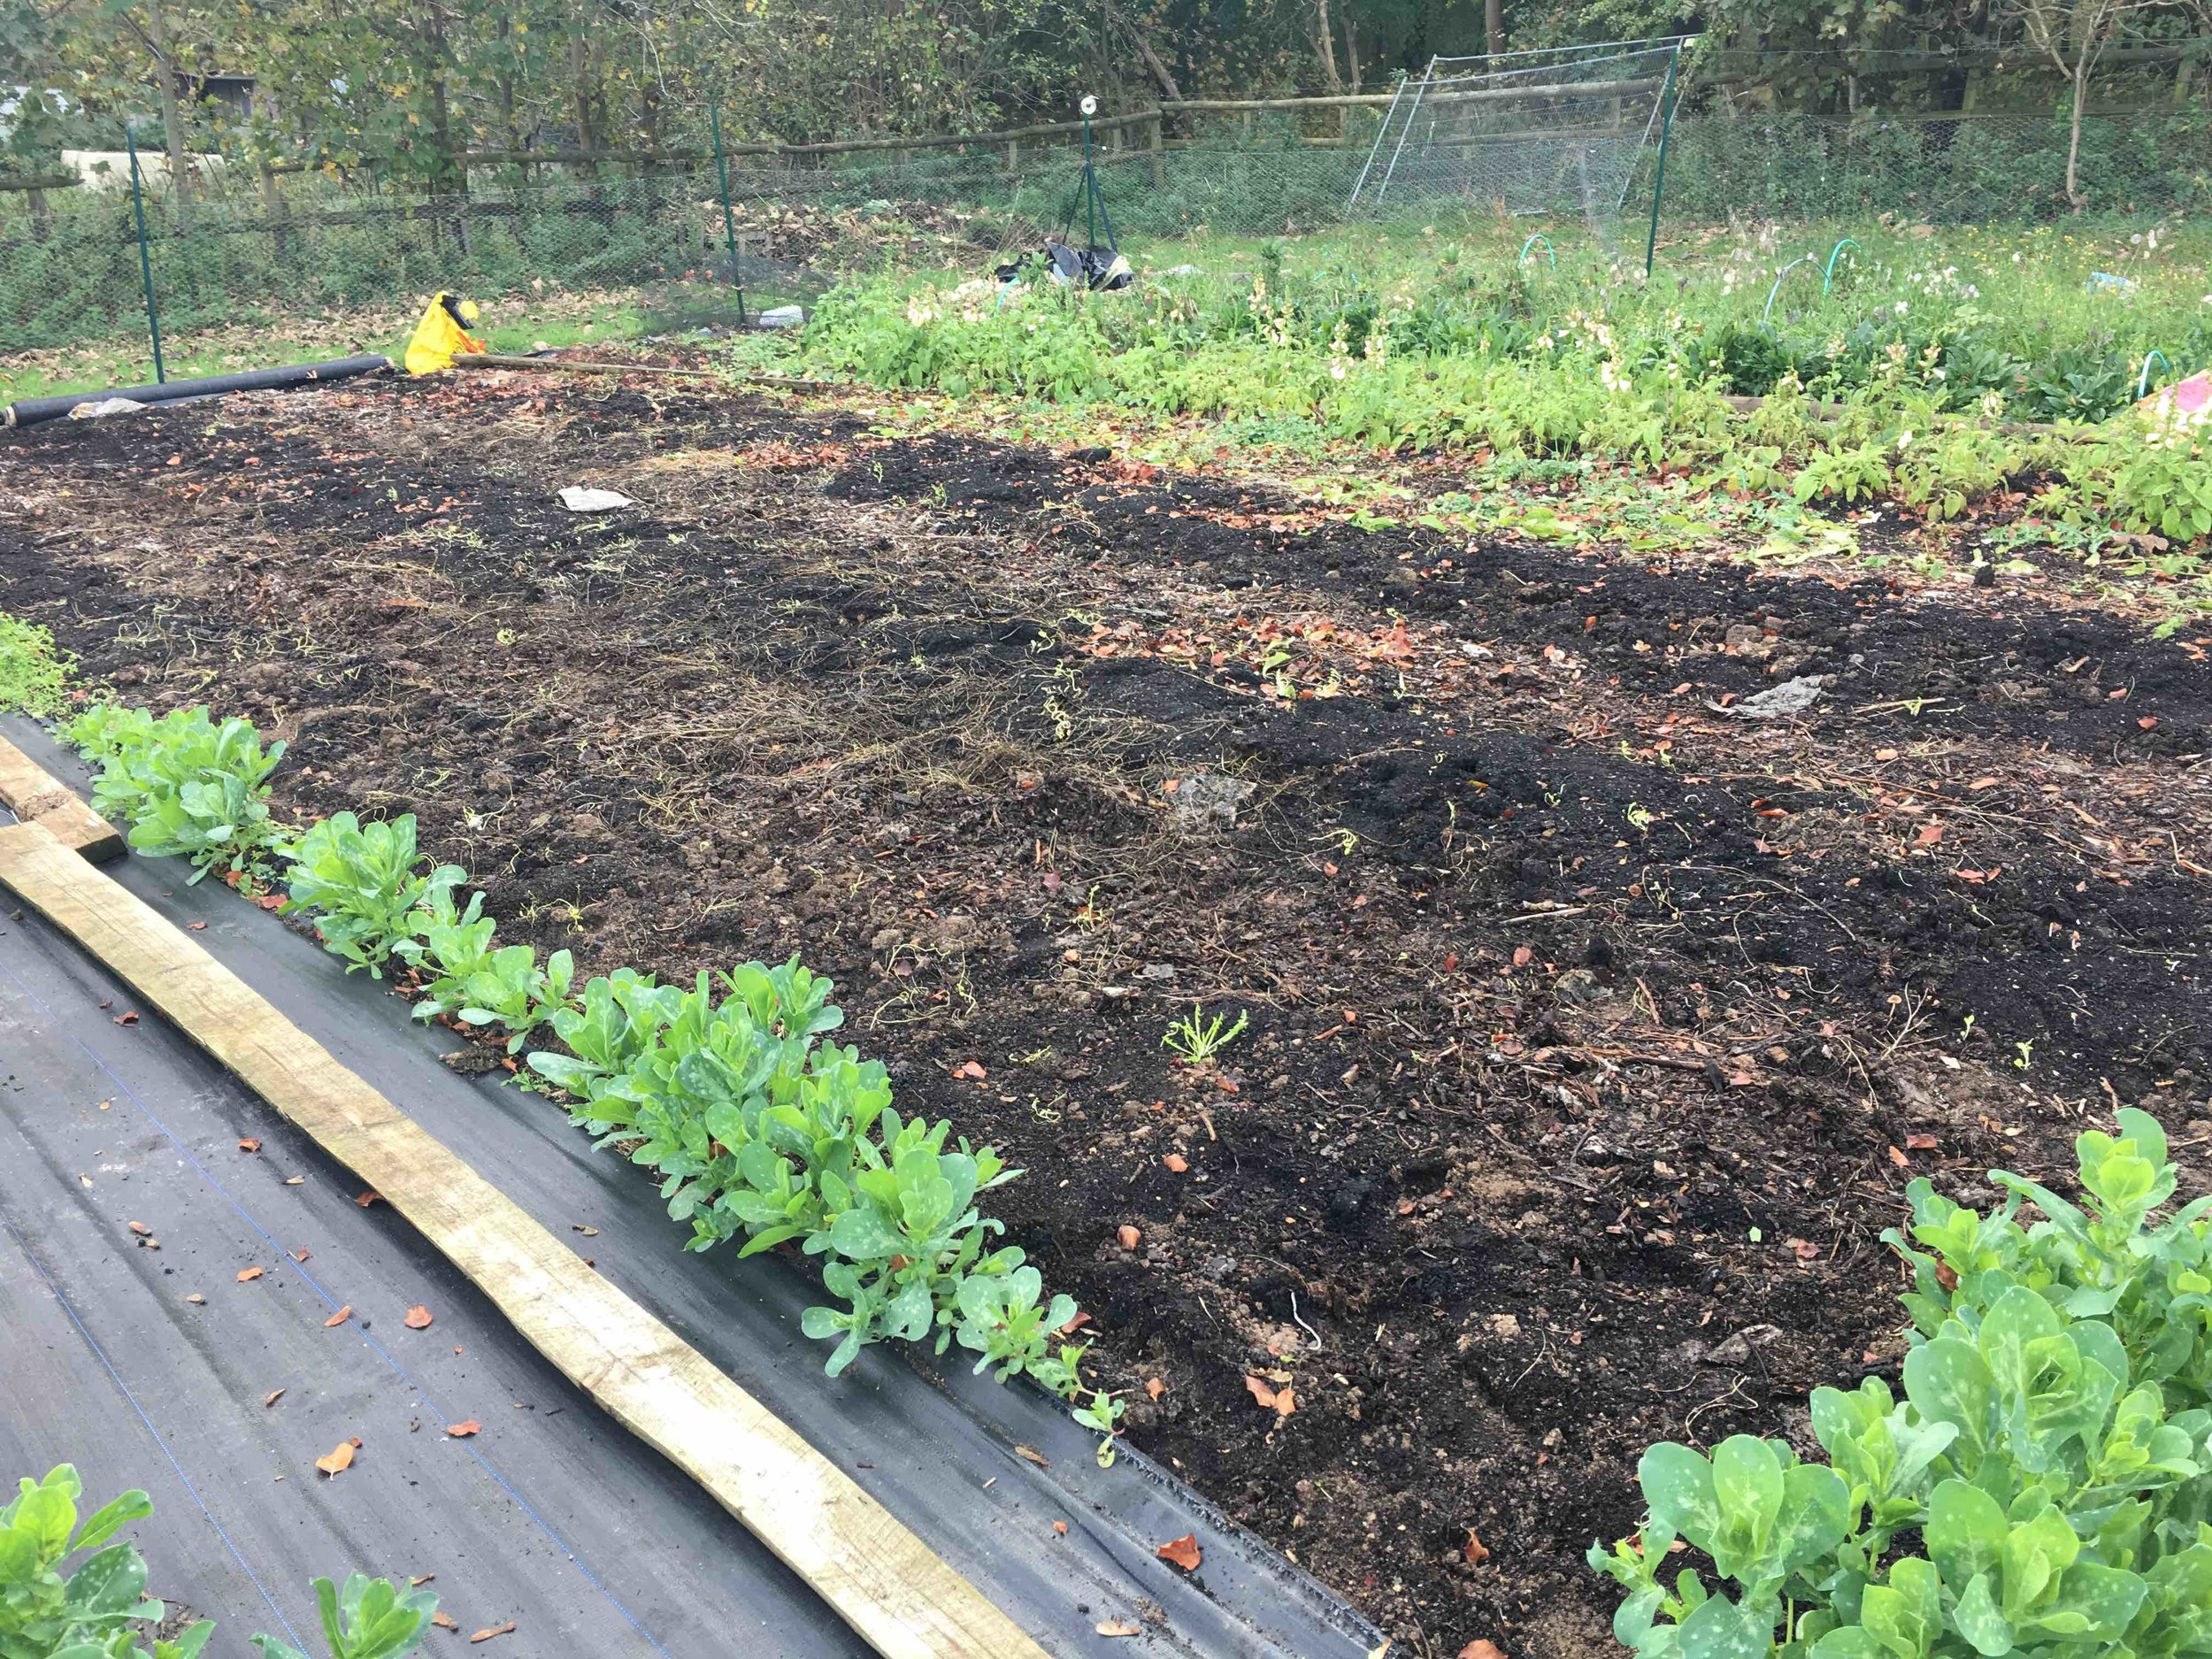
picture 1 - The crops were ripped out, then covered.
picture 2- This is what it looked like straight after we took the plastic off.
We then marked out paths, and hoed the beds (the plastic compresses the compost)
We ensured we won't have to weed the paths, by laying Newspaper (free, recycled) (The Telegraph is the best, as it's larger and thicker!, Guess which paper my Dad reads.) and wood chips (free recycled by a local tree surgeon) .
Then with the paths made either side, we could plant the ranunculus.
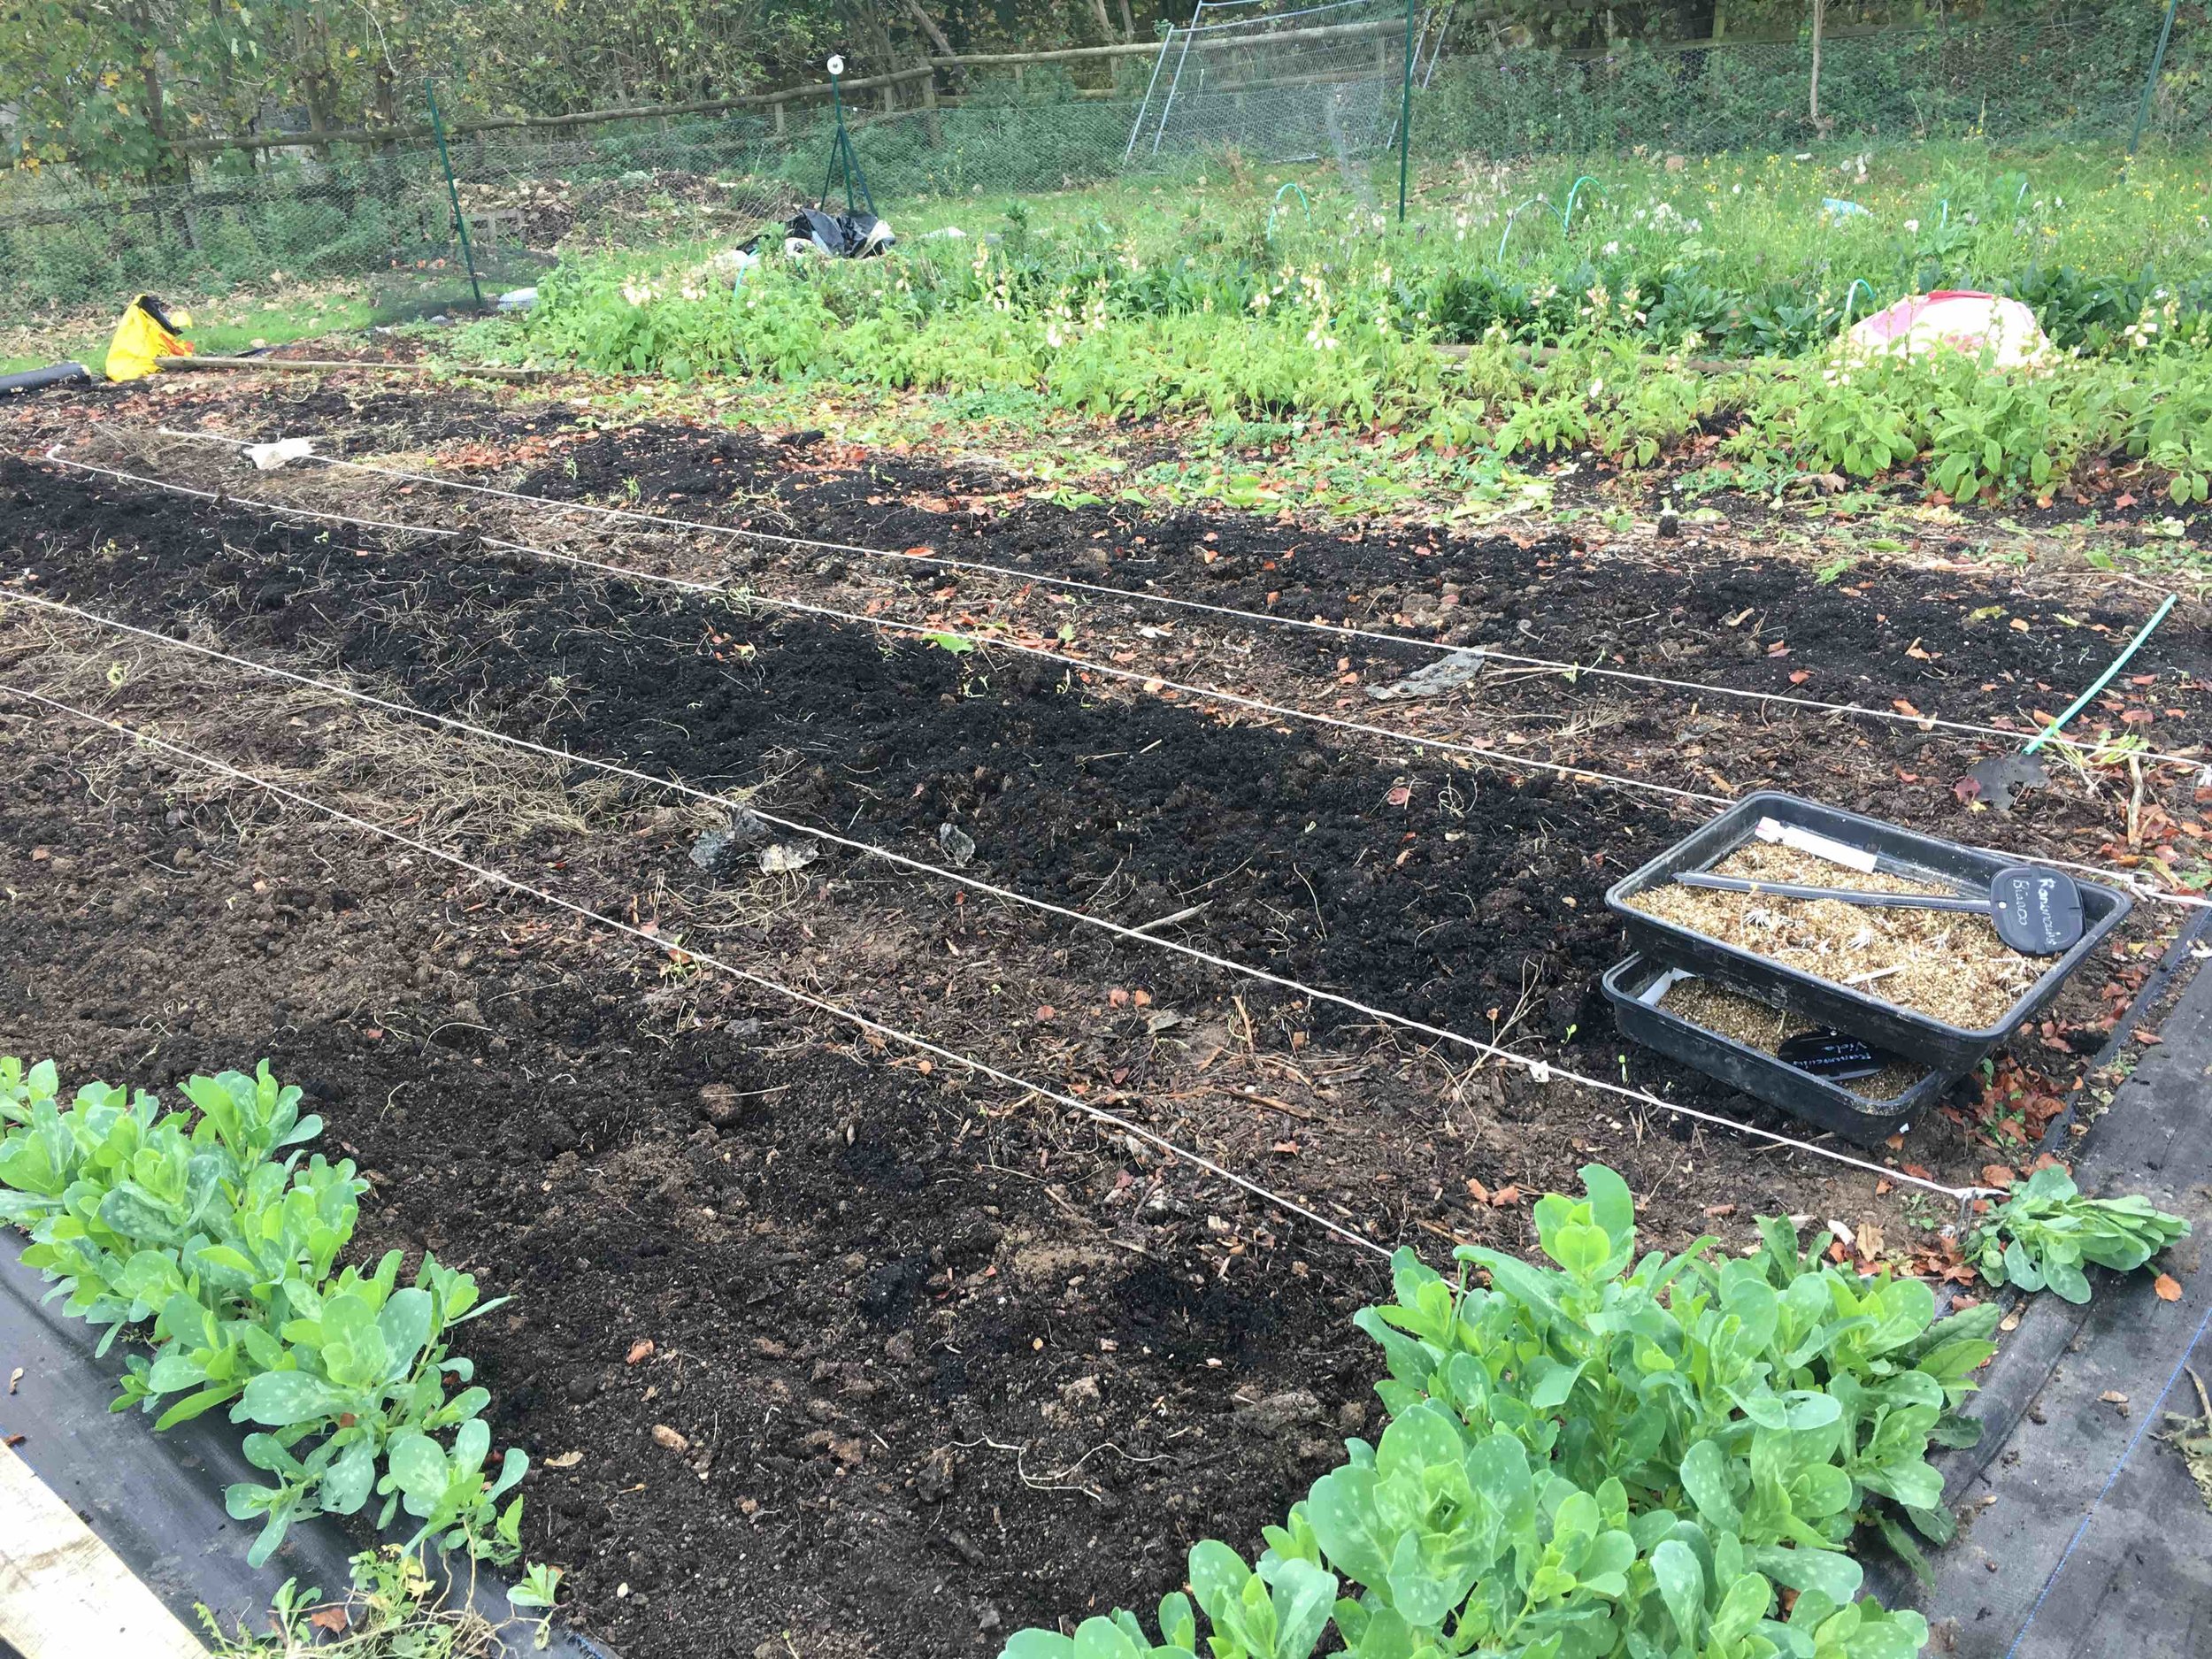
You can't make out the sharpie marks in this photo! We use a trowel, to measure how far apart each row is, we try for 20cm apart.
They are then covered gently with soil, and obviously the last step is to cover them in enviromesh to keep the worst of the weather off them.
“Question : With this method, how many ranunculus could you fit in your beds?”
Planting in crates
To extend your bulb season, and to help with space issues, I've always tried planting some bulbs each year in crates, troughs and pots.

The most important aspects of your container are,
can it drain?
and hold enough water ?
can it be moved ?
A lot of winter bulbs need cold to start them off, so the last one is actually important. You will need to keep them outside to ensure they get cold, and then bring them inside or give them some shelter, so that growth is speeded up and you can get a longer / earlier period of flowering.